

DIY polymer clay planters

Ceramics have really taken off lately and if you’re wanting to test out your pottery skills why not make some DIY polymer clay planters — they’re fun, easy and the kids will love them. It is a great way to get the kids to start looking after the environment with their very own pot plant to nurture.
Clay pots provide a healthy home for most plants because the clay allows air and moisture to penetrate the sides of the pot. Succulents and cacti are not only the ideal size plants to add to your clay planters but are also super cute and easy to grow. This activity will allow you to really get creative, so we recommend having some fun and making your own with the kids too!
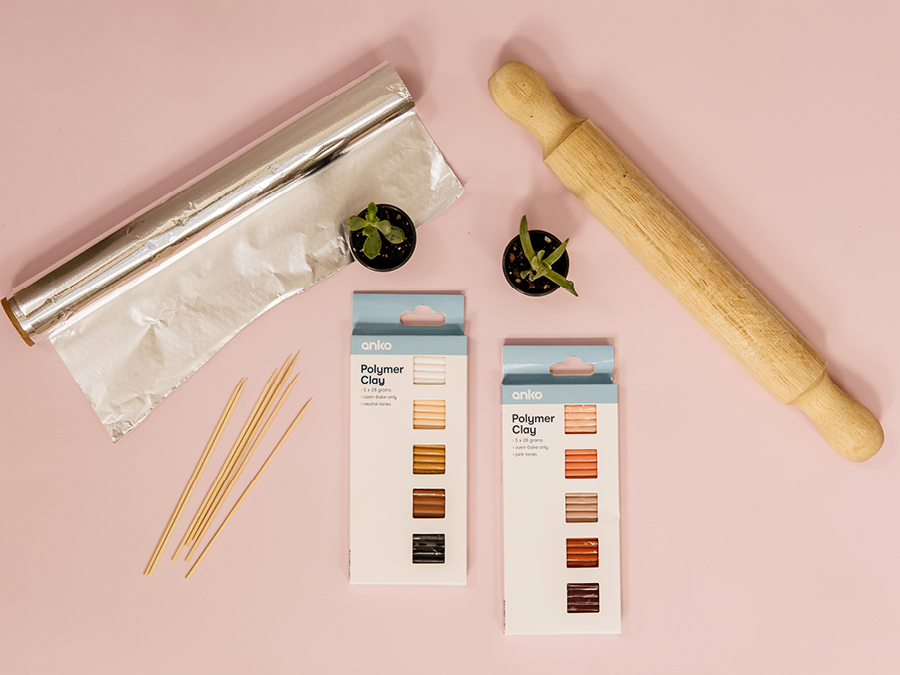
Product captions: Coles or Woolworths Aluminum Foil | Coles or Woolworths Skewers | Kmart Polymer Clay | Kmart Wooden Rolling Pin | Succulents available from your local Bunnings Warehouse or your local nursery.
What you need:
-
Polymer clay (assorted colours)
-
A skewer
-
Aluminium foil
-
Baking tray
-
Small succulents
We bought our polymer clay from Kmart! They stock a variety of colours from tonal to bright and bold hues.
Once you have gathered the necessary items it is time to get sculpting.
Step one

Knead the clay to soften and condition it.
Step two
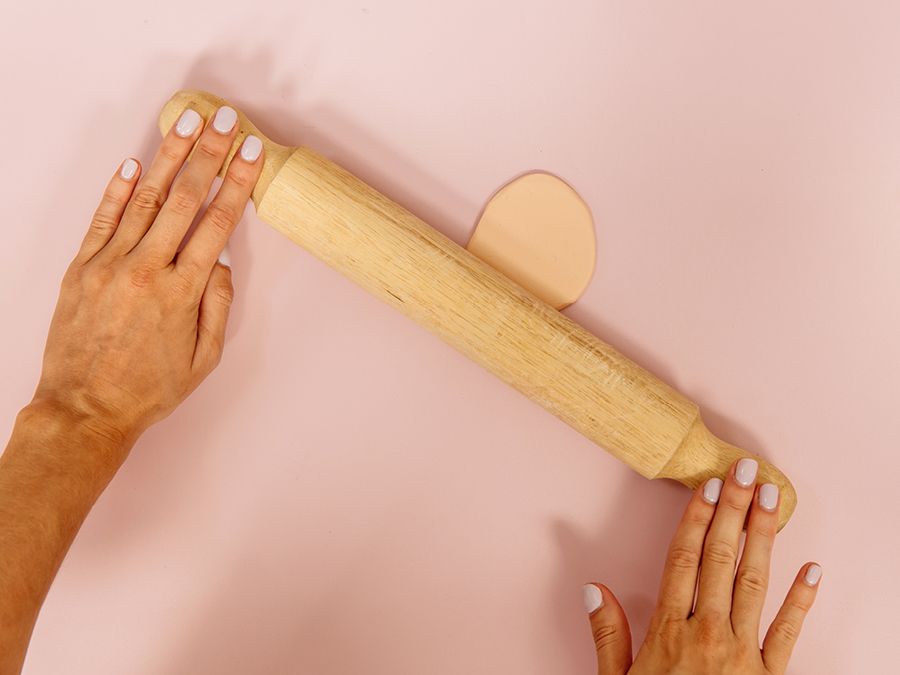
Use a rolling pin to make a thin circle.
Step three

Sculpt the clay into your desired planter shapes. Be sure to try out different shapes and sizes.
Hot tip 1: Scrunch the aluminium foil into a ball to act as a structural mould if you are wanting to make a dome-shaped pot.
Step four

Add at least one drainage hole to the bottom of each planter with a skewer.
Step five
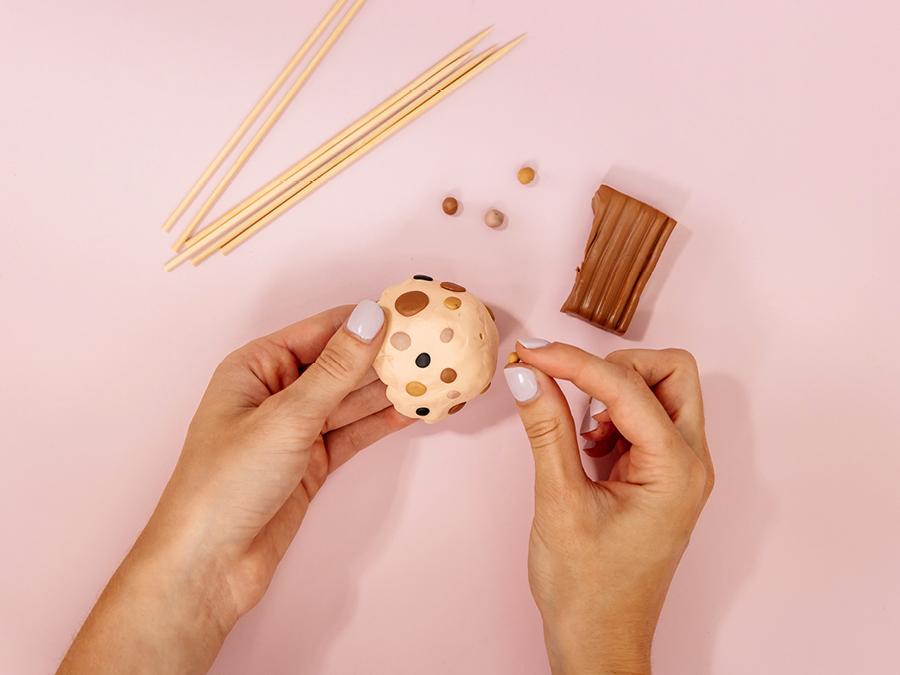
This is where you can get creative! Decorate the planters with shapes, flowers, and cute designs.
Once you’re done with your decorating, it’s time to bake the clay. Make sure to read the manufacturer’s instructions for the baking details as each brand of clay will differ.
Step six
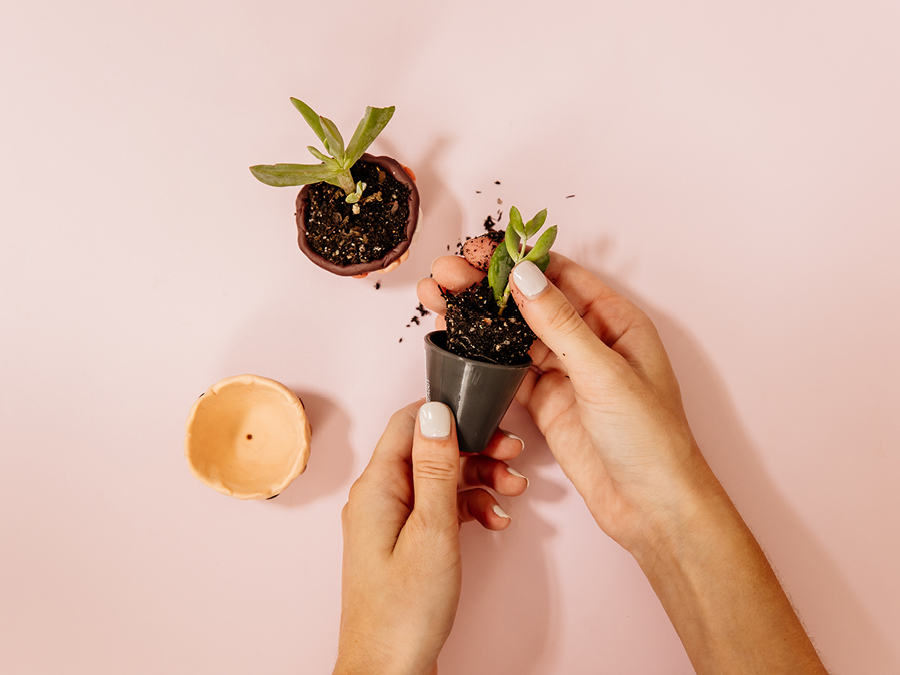
Once the planters are fully cool, remove the aluminium foil moulds and get planting!
Voilà, some gorgeous little clay planters made in the comfort of your own home.
For more everyday inspiration, updates on the latest trends and exclusive offers, register now as a Stockland Member to receive monthly updates, latest news and exclusive events from your local Stockland Shopping Centre.
This information has been provided by our Stockland retailers. All reasonable care has been taken to ensure that the information is correct at the time of the content going live. However, no warranty is given as to the accuracy of that information. The information may change from time to time without notice. Stocks are limited and only available while stocks last with individual retailers. Products may vary from location to location. Prices may also change without notice. Please contact our retailers for more information.